

Meet "Lets Dance".
For this card I decided on a 5.5 square inch Spanner Panel Fold card, which I think shows off the stencil colouring and designs as well as those dancing fishies.

Following are the measurements for the cutting of this card.
The cuts are very simple, with a top fold 5.5 inch card base. On the left side, cut in 1.25 inches and cut from the folded line down to the bottom of the card.
Do the same for the right side, measure inward 1.25 inches and cut from the fold line down. This is all the cutting on the base that you will do.

If you are making this card for another purpose you would probably use designer paper, in which case you would cut the paper for the left and right panel.
For my card however, I made my "paper" using stencils along with Hammermill 100lb. cardstock. My cardbase is Neenah 110lb.

For the design panels I cut the Hammermill cardstock slightly larger than needed so I could pick the best parts of the stencil work for my design. The cuts follow:
2 pieces 3 inches wide by 5.75 inches tall;
2 pieces 3.5 inches wide by 5.75 inches tall.
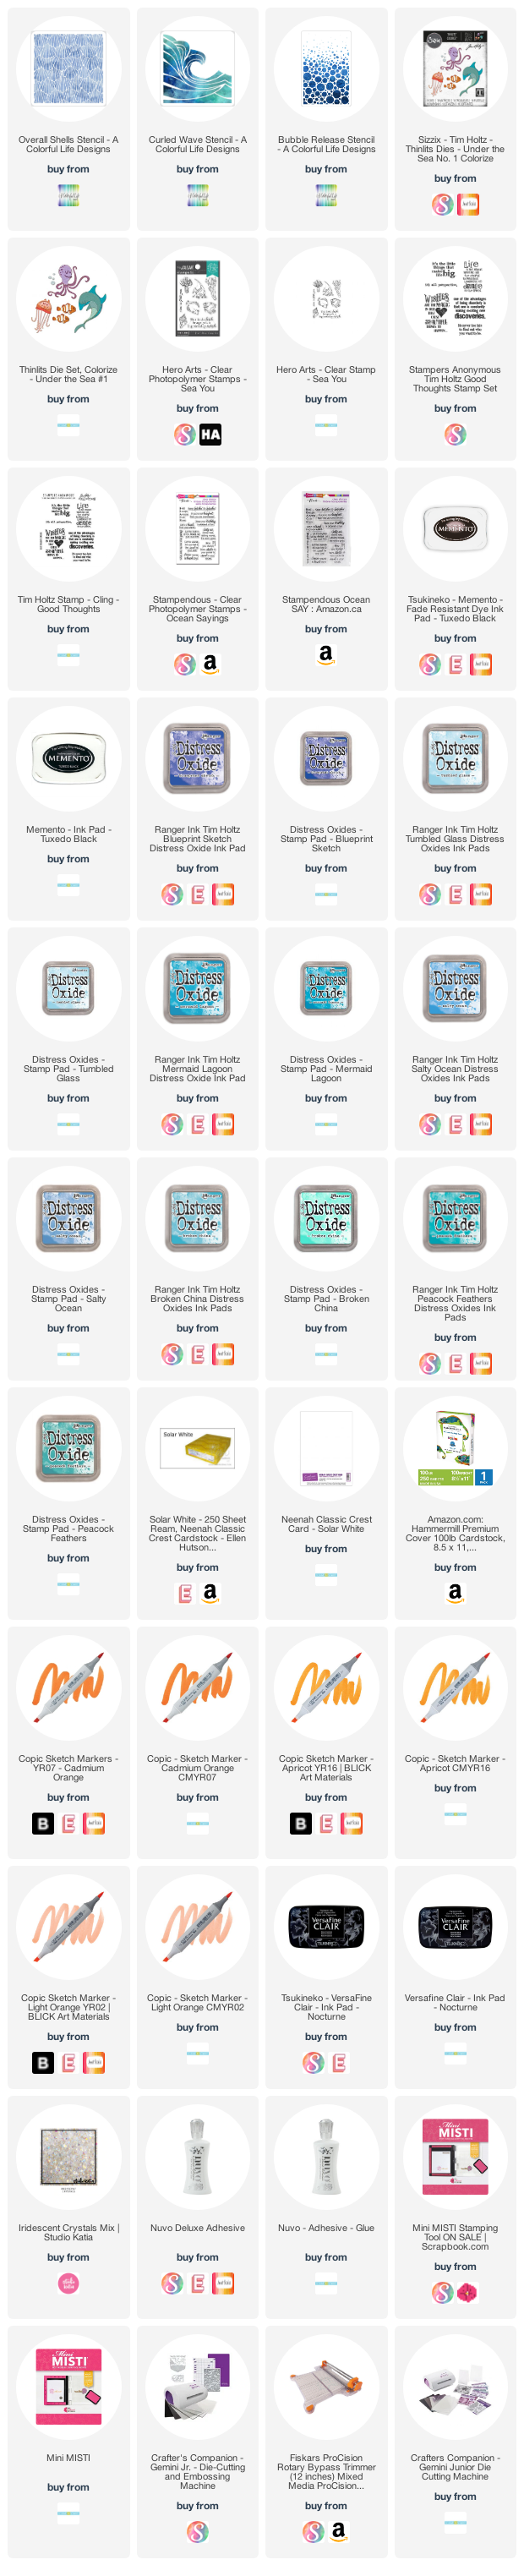
For all the stencil work I used distress oxide inks in this order: Blueprint Sketch, Tumbled Glass, Mermaid Lagoon, Salty Ocean, Broken China and Peacock Feathers. Once all the colours were added I went over the entire piece with another layer of Tumbled Glass.

For the front of the card I am using Curled Wave for the centre panel and Overall Shells for the left and right panel. The centre panel is cut to 2 7/8 x 5 1/3.
The side pieces are cut to 1 1/8 x 5 1/3. These cuts are the same for the inside of the card. (You can also mat your designer pieces, which would change the measurements that I have listed by another 1/3 per width and length.)

The stencils I used for the inside of the card in the centre the Overall Shells and on the sides Bubble Release. I reversed the colours for the inside, just because I could. lol
When making the panels I splattered the Bubbles Release and the Curved Wave with water. I did not allow the water to sit, applying paper towel over the piece to soak up the excess.
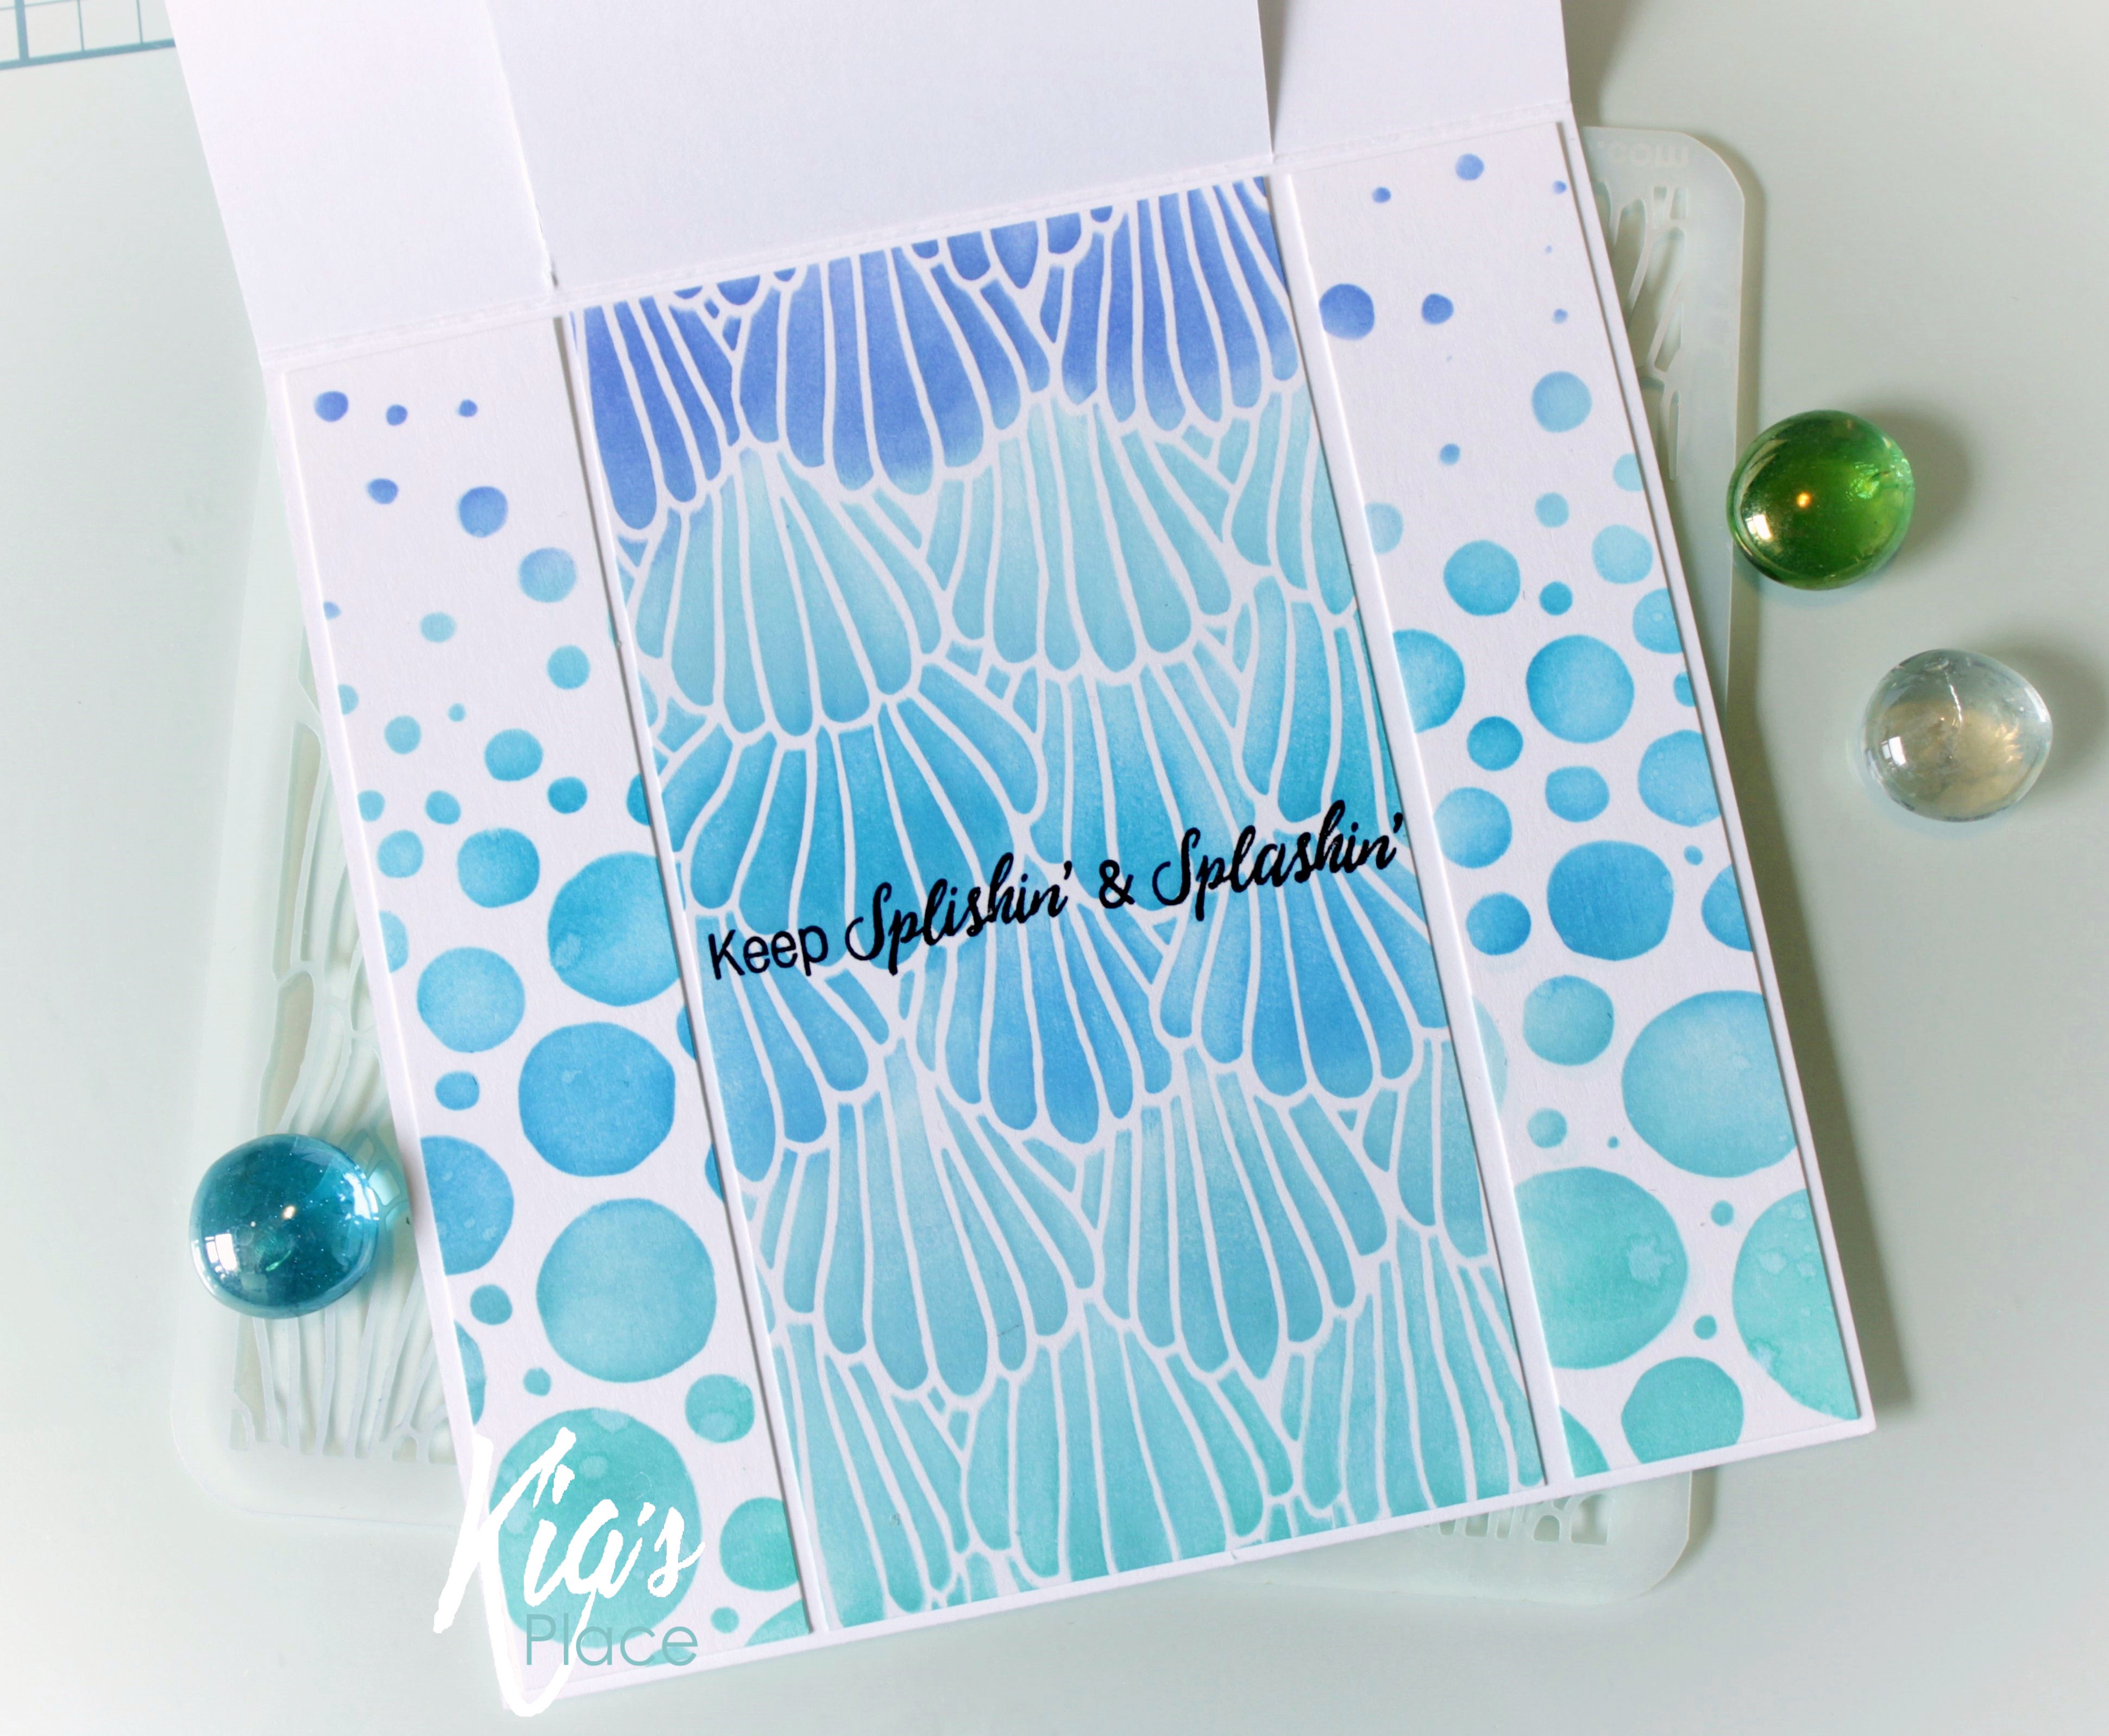
I then made the bridge that connects the two outer parts and is free from the centre part of the card. I decided on fish dancing, so I made my bridge like a "wave", (like they are riding on the wave), cutting from stitched slopes.
You could also use acetate if you did not want the bridge to show. For bubbles I added Studio Katia gems over the fish on the centre panel.
Using VersaFine Clair ink in Nocturne I stamped the front of the card with a stamp from Stampers Anonymous, and the inside of the card using a stamp by Stampendous.
Thanks so much for visiting today. I hope you have enjoyed this card as much as I enjoyed making it. No doubt I will be making another soon.
Use code "KiaFan10" for a 10% discount on your order.
Following are Affiliate links for the products I have used for this card, at no extra cost to you.
0 comments
Thank you very much for commenting. I love to read what you have to say and appreciate the time you take. I monitor comments to keep those spammers out, so do not be surprised if you do not see your comment straight away.