

Hello to all!
It is Release Day at A Colorful Life Design, and I have much to share with you. The stencil above is called Black Ice. It is a larger stencil being 6 x 9 inches, which is great for use with a slimline card, which is how I used it above.
The dies are cut from white glitter card and blue mirror card, and the Christmas sentiment is from Woodware, stamped with VersaFine Clair ink in Blue Belle. The stencil background is done using distress oxide inks in Faded Jeans, Peacock Feathers, Mowed Lawn and Twisted Citron.

This is "Driven Snow".
This stencil is also a slimline 6x9 inch stencil called Driven Snow. My colours for this card are from the top down, Wilted Violet, Abandoned Coral, Worn Lipstick and Spun Sugar.
I die cut the Penny Black Snowflakes from white watercolour paper, for its softness, then die cut the sentiment from white Neenah cardstock and coloured with a Purple copic.
I spritzed the ink left on the stencil and added to another piece of slimline cardstock, giving me a piece for the inside of my card and Christmas verse.

This is "Snow Doily".
This is such a beautiful stencil, I wanted to show it all off, so I stenciled on a 5.5 sq. inch card. I am using distress oxide inks in Saltwater Taffy and Salvaged Patina, which I also used on the card base.
Once the stenciling was complete I added Nuvo crystal to parts of the Doily for a bit of sparkle. A very easy card to make.

Here is "Pile of Presents".
Another stencil I love, I just love all of them really! I stenciled using distress oxide inks in Wilted Violet, Blueprint Sketch and Peacock Feathers, then cut the panel using my stitched rectangle die.
I added Nuvo Crystal drops at the bow centre on each bow for sparkle and attached the panel to my card base using foam tape.

Meet "Christmas Candles".
For this card I decided I would watercolour on Arches cold press watercolour paper using Kuretake watercolours from the Starry and Pearl sets. I applied Pixie Spray to the back of my stencil before I began so I would not have to draw anything.
Using a damp watercolour brush I added the colours around the stencil, doing 3 coats so I could use the damp brush.
I framed using red glitter paper then applied the pieces to my Neenah cardbase. I then added the crystal gems and the Penny Black "Joy" die cut to finish.

Introducing "Dotted Poinsettia".
I started by die cutting a piece of Neenah 120lb cardstock using the stitched rectangle die. For this stencil I wanted to try something a bit different, so I proceeded to stencil using Mica Sprays. I used Set 4, being Merry Mint, Cocktail Party and Shiny Bauble.
Once sprayed I removed the piece of cardstock and spritzed with water to get the Mica stain moving just a bit, then set it aside to dry. I then spritzed the stencil and turned it over to make a background for the inside of my card.
Using Memento Ink in Tuxedo Black and in my mini Misti I stamped the Holly and coloured using Copic markers. I attached the Holly using foam tape, and added in the Joy die cut sentiment.
To finish the front panel I ran the piece through my Gemini Jr. with my Woven embossing folder. I love the results. I attached the piece to my cardbase using foam tape, then attached the Holly die using foam squares, and attached the piece I made for the inside.
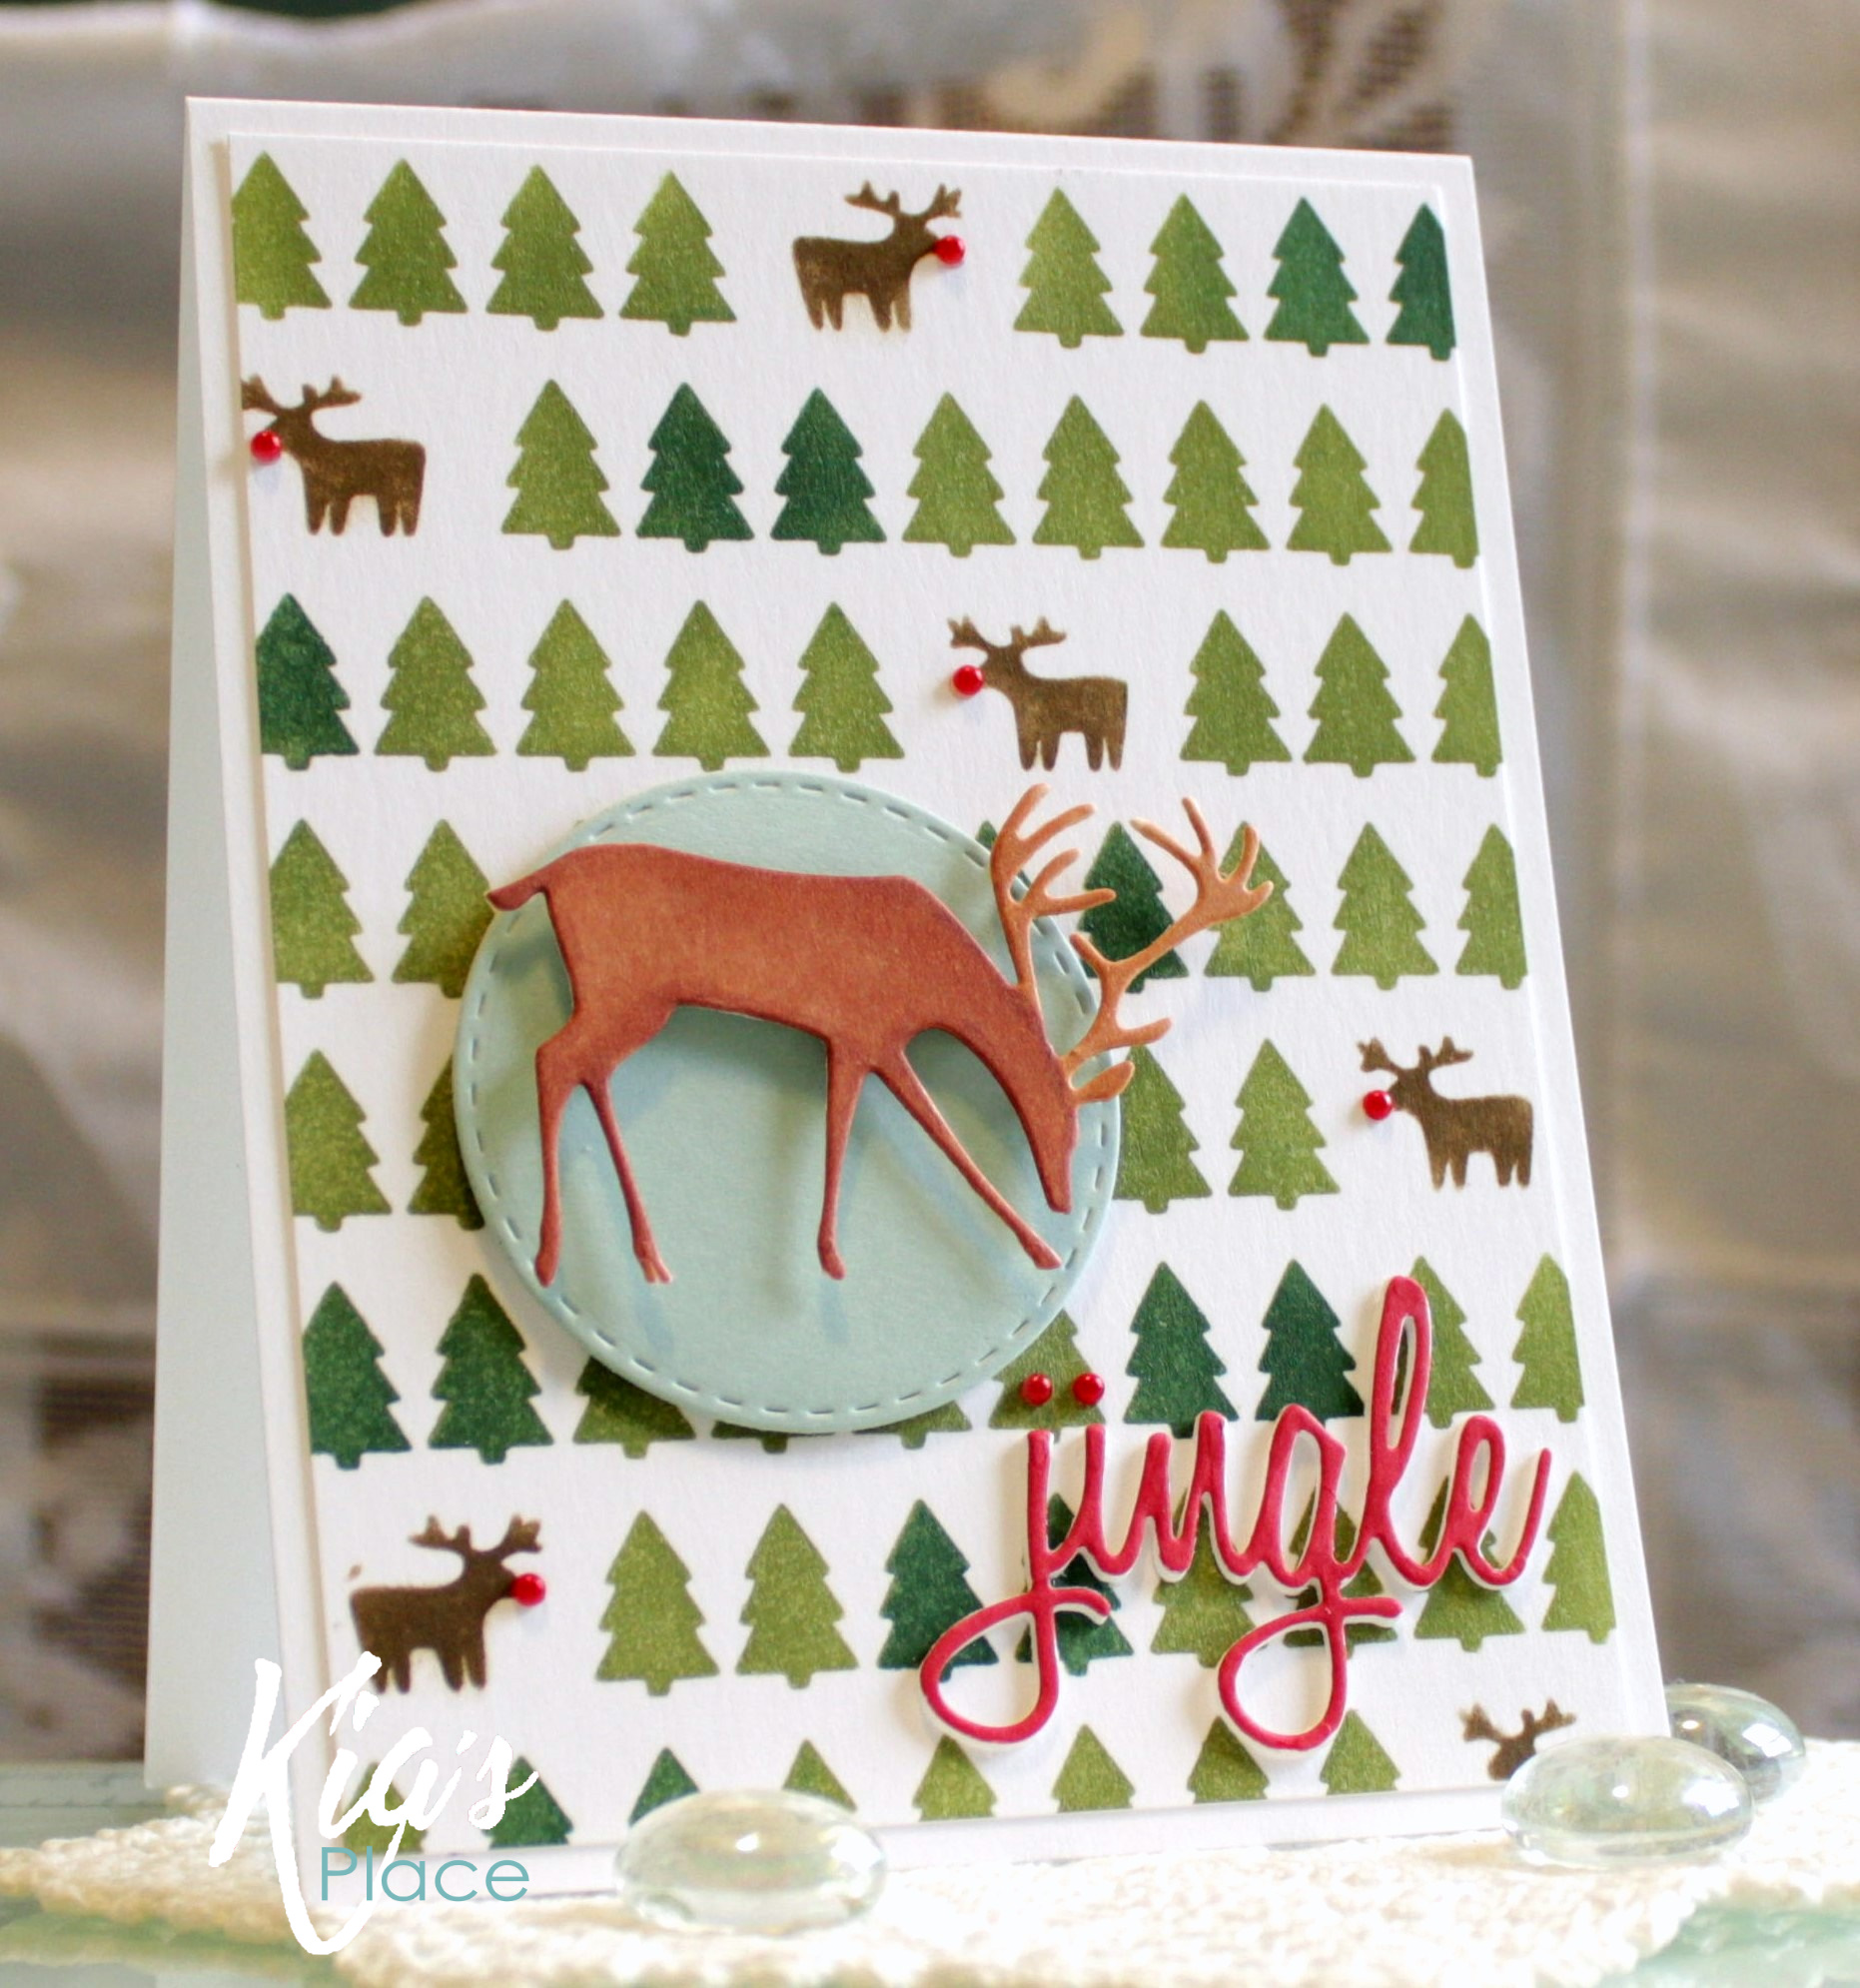
Meet "Christmas Tree Deer".
On Neenah cardstock I stenciled using Pigment Ink in Ficus and Balsam, along with Walnut Stain for the Deer. I die cut the stitched circle die and and the Deer and applied Aloe to the circle and several coats of Seagrass to the deer.
I attached the stenciled card to the Neenah cardbase, then added the circle die using foam tape. The deer was also added with foam squares.
The "jingle" was die cut 3 times, and the top piece coloured red with a Copic marker, and to finish I added tiny red pearls to each of the stenciled deer, seeing as they had a big role to play.

"Ho Ho Ho"
Just typing that has me giggling! For this card I am using the "Showy Ho Ho Ho" and "All the Stars" stencil's.
The colours are Pink Flamingo, Salvaged Patina and Picked Raspberry, along with some pink enamel dots.
A very easy card, but I think a great card especially for kids.

Meet "Presents".
So many possibilities can be used with this stencil. For my card I used Chipped Sapphire, Salvaged Patina and Villainous Potion. I die cut the panel with the stitched rectangle die and attached to Neenah cardbase using foam tape.
Using the Impression Obsession Joy die I die cut 3 pieces, 2 in white and coloured the 3rd and top piece with the Salvaged Patina.
For a bit of glam I added gems and sequins to the bow centres.

I again used the Mica Stains for this card using Merrimint and Cocktail Party on a Neenah stitched rectangle die cut cardstock.
Using foam tape I attached the panel to a Neenah cardbase using foam tape. In my mini Misti I then stamped and coloured using Copic markers the Lawn Fawn Snow One Like You, then die cut with the coordinating die.
Again in my Misti I stamped the sentiment words and fussy cut these, applying them to the card using foam squares.

Meet "Layered Bird Trees".
A 2 stencil set of trees and birds which makes for a cute card. You all know how much I love birds, so of course this was on my list of stencils I wanted.
On a piece of Neenah cardstock I used Pigment inks in Rosewood for the birds and Jade and Fiscus for the trees. I then shifted the stencil just a bit and added a layer of Translucent Distress Texture Paste, which gives a bit of shine and 3D appearance.
I attached the panel to my Neenah card base, then in my mini Misti I stamped the sentiment Merry and Bright from Pigment Inks Falala stamp set, using the Rosewood Pigment ink, attaching it to the card front using foam tape.

This is "Fa la la".
This stencil is called "Marvelous Masks Diamond". In trying out the appearance of it on my card base I opted for a simple application using the stencil set, and applying the inks light to dark, with the focal being the darker colour.
My colours for this are Kitsch Flamingo for the centre diamond, Blueprint Sketch for the left diamond, and Twisted Cirton for the right diamond.
In my mini Misti I stamped the sentiment using VersaFine Clair ink in Glamorous. To finish and add some glam I added pink glitter trim to the top and bottom of the card along with a few pink gems.

Introducing "Starlight".
For my last card I went for a Clean and Simple design, using distress oxide inks, from the centre out, in Aged Mahogany, Candied Apple and Fossilized Amber on the Neenah cardbase.
Keeping the stencil in place I slid in another piece of Neenah cardstock and applied the colours again. I used this piece to die cut the 'falala' die out, along with another 2 piece of white card, gluing them together with the pattern on top.
I then applied splatters using the inks I had used to colour the stencil, along with white watercolour.
I thank you for holding in there with me today. There are more stencils in this release, but I hope the above cards have given you a good sampling.
Also, please use my discount code when purchasing from A Colorful Life Design.
For a 10% discount on your purchase at A Colorful Life Designs use KiaFan10
Following are Affiliate links for the products I have used for this release, at no extra cost to you.

0 comments
Thank you very much for commenting. I love to read what you have to say and appreciate the time you take. I monitor comments to keep those spammers out, so do not be surprised if you do not see your comment straight away.