

One way to add dimension to your cards is to use word dies to form your sentiments. Add layers of cardstock underneath the top layer for instant impact. I love you use pattern paper, especially when I have beautiful designer paper, such as what I have used for this card.

This pictures shows the build up of white die cuts glued together before topping with the previously die cut designer paper. There are 4 layers of cardstock glued together, the bottom piece being navy, then 2 layers of white and the top layer.
My card base in navy, with a layer of designer paper, then the layer of another design of the designer paper.

The sentiment reads WAVES, in case you are wondering. I wanted Shells, but just a tad too big for the space I had. So, waves works!
For my next card I have done the sentiment a bit differently.

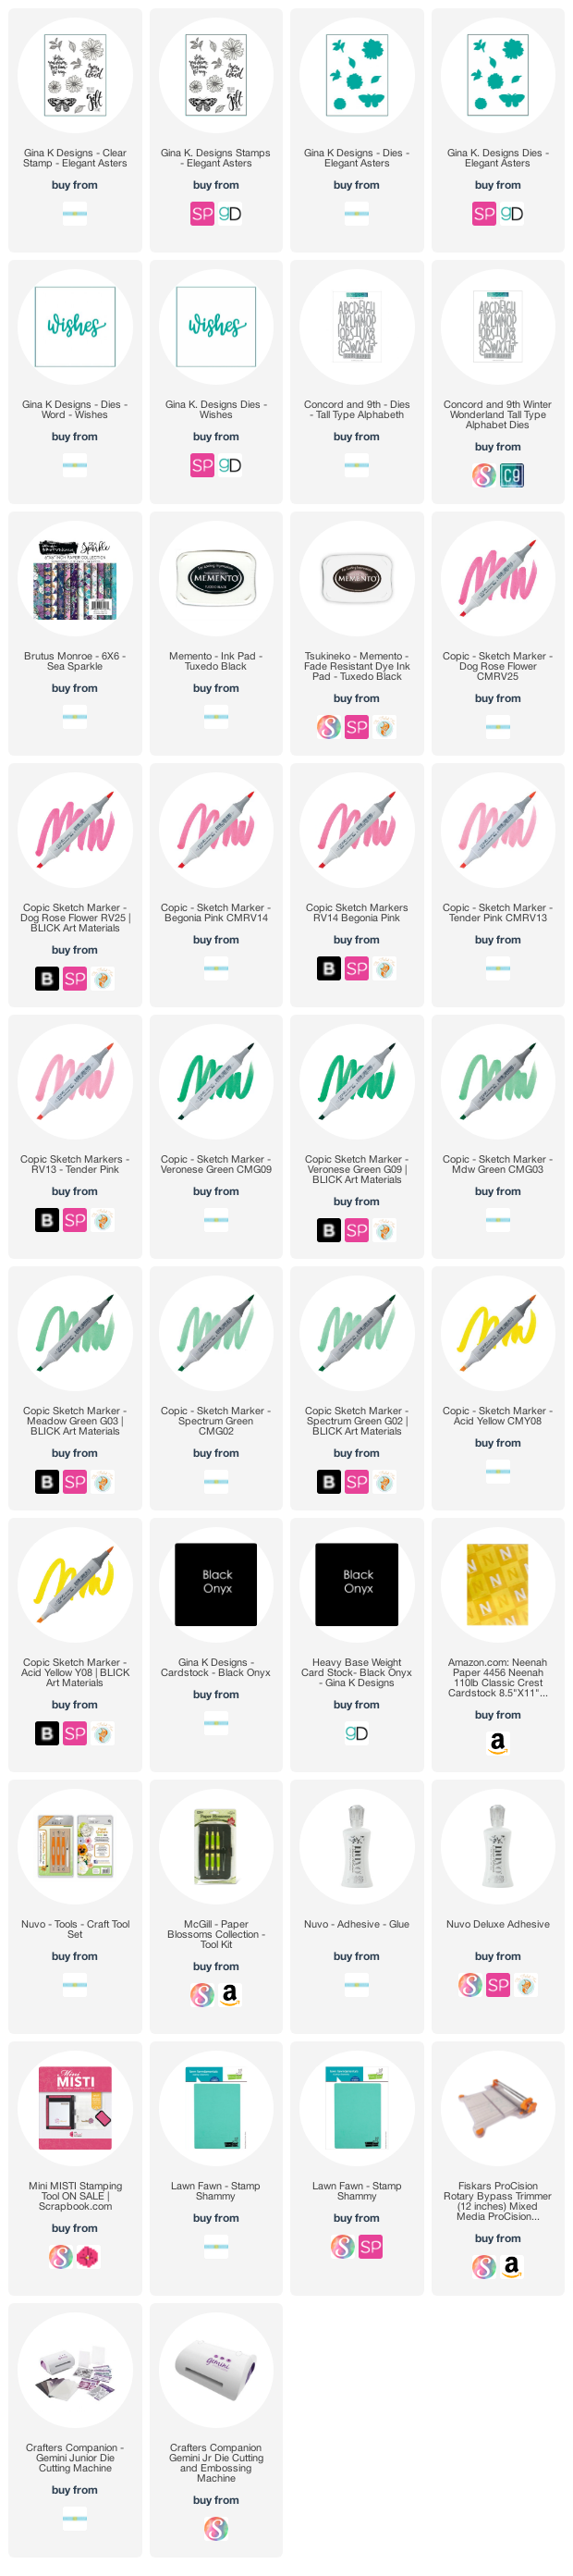
On my card base I first stamped 3 of the Aster flowers in black ink staying closer to the right edge of the card. Using white cardstock, in my mini Misti I stamped the flowers, leaves and the butterfly and proceed to colour with Copic markers. Once all were coloured I die cut the pieces with the coordinating dies.

Using my stylists I styled the pieces to give movement to the card, then affixed each piece using foam squares. Once everything was in place I die cut 3 pieces of white card using the wishes die. I then stamped another one of the flowers and die cut it adding it to the top layer of the sentiment.
The bottom sentiment is black and when attaching the other pieces I allowed the black to peek out, slanting the white die cuts as they went across. I hope that makes sense.

To finish up my card I added an assortment of gems from Studio Katia.
Thank you for dropping by today. I hope you have enjoyed today's cards. Following are Affiliate links for the products that I have used to make these cards, at no extra cost to you.
0 comments
Thank you very much for commenting. I love to read what you have to say and appreciate the time you take. I monitor comments to keep those spammers out, so do not be surprised if you do not see your comment straight away.