

Welcome to the Scrap'n Stamp Bling and Blossom Hop.
Those words are music to most card makers ears. I made sure I had both for the card I made for this hop. Lots of bling and blossoms too!

We have a $50.00 Gift Certificate to the Scrap'n Stamp store for our hop giveaway, so be sure to leave comments on everyone's blog for your chance to win. The more comments you make, the more chances you have to win!
We are also offering 20% off your purchases before taxes, with the promo code Pamper. Valid May 7th, 2021 to May 10, 2021 at Midnight PT. While supplies last. Not valid with any other coupons, sales or promotions. Not applicable on previous purchases.
Now on to the card I made.

First, using my Original Misti I stamped my image on Hammermill cardstock using Memento Ink. I then proceeded to colour using Copic markers. In my research while searching out Magnolia flowers, I found some lovely Yellow blossoms. I decided I would use the yellows, and add in a bit of a rose colour as well.
The flower petals have Y38, Y15, Y17, Y08, Y13 and Y02. I then added the YR02 and blended with Y13. The leaves are done using G07, YG05, YG07 and the stems E37, E97, E35 with bits of E57.

Once I was finished with the Copic colouring I ran the image through my Scan'n Cut for a detailed cut. I wanted this done so I could add shadowing inks.
But first I coloured the white border with YR02 so it would fall into the background. I then splattered the flowers with Midas Touch Shimmering Pen.

To do the background using my Life Changing Blending Brushes I applied a layer of Spiced Marmalade Oxide Ink. I then applied a layer of Worn Lipstick Oxide Ink over the Spiced Marmalade.
For my shadow, I placed the flowers in their position and took a picture with my phone to refer to. I then applied Ripe Persimmon Oxide ink, referring to the picture, and using the cut out.

Once the inking was done and I liked the look, I then did splatters again with water and Midas Touch Shimmering Pen. In real life it is beautiful.
I styled the flowers and attached them to my card base using foam squares.

To finish the card I added a bunch of gems around the flowers. I then die cut the sentiment 3 times, colouring the bottom two with E37 and the top one with YR02, R05 and R08 and glued then together as well as gluing to the flowers on the card. I added another gem to the heart of the sentiment.
A friend is going to give this card to her Mom for Mothers Day, so it already has a home which makes me happy.
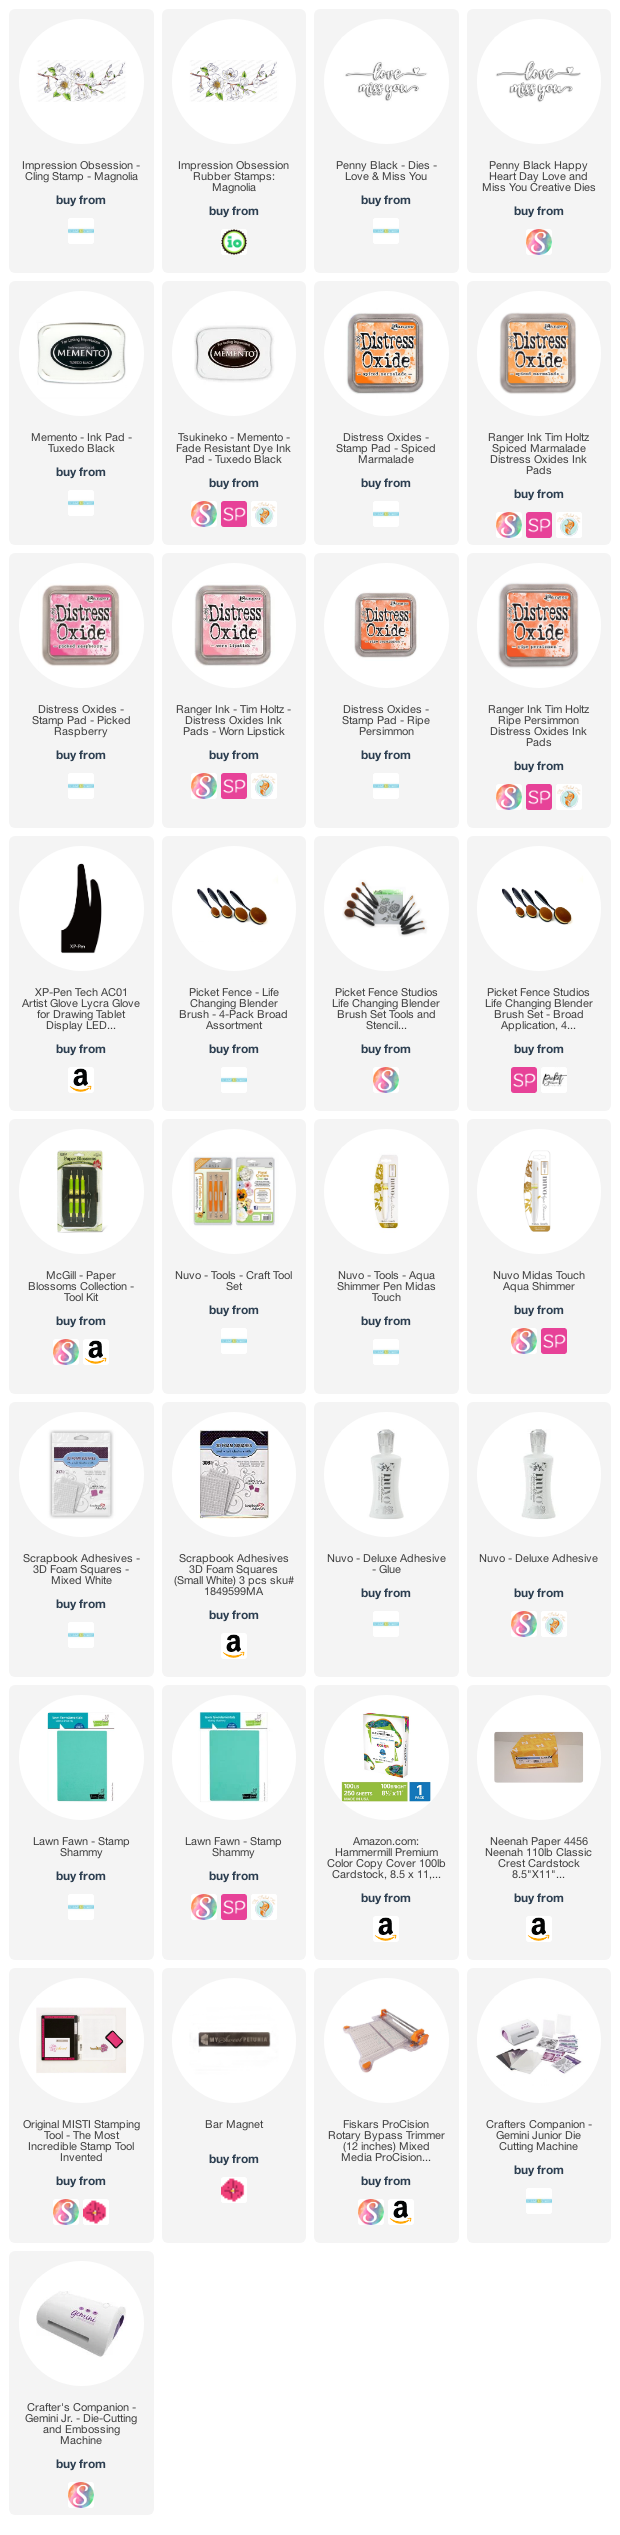
Thank you for joining me today. Following is the hop list, with Susan up next, followed by my Affiliate links used for this card, at no extra cost to you.
Such a gorgeous card, Kia! I love the soft yellow, and wish the camera could capture ALL of the sparkle!
ReplyDeleteLove the spring colours of your card! So pretty!
ReplyDeleteThis is a gorgeous card! Your colouring and ink blending is amazing. So pretty!
ReplyDeleteYour flowers are beautiful Kia!
ReplyDeleteThis is gorgeous Kia!
ReplyDeleteThe colors are beautiful!
ReplyDeleteThe colors are beautiful!
ReplyDeleteBeautiful colouring Kia! Just stunning! And I love the bling peaking out from around and behind your central image. It doesn't take over but really adds a beautiful touch to your creation.
ReplyDeleteBeautiful design! I LOVE the yellow flowers and LOVE on top!
ReplyDeleteKia, your magnolia card is a work of art! Love the beautiful flowers, the pretty blended background and the pretty bits of bling!
ReplyDelete~carol
Love the bright colors and the blending is gorgeous!
ReplyDeleteLove this gorgeous floral design! Beautiful card with lovely coloring!
ReplyDeleteHappy Mother's Day weekend to all!
The colors are beautiful and you styled a lovely spray of blooms and bling! 🌺 HAPPY MOTHER'S DAY
ReplyDeleteBeautiful card Kia. Love idea idea of colouring the white space the same as your background! Thanks for sharing
ReplyDeleteGorgeous card! I never thought of colouring the die cut to match the background. Such a simple concept.
ReplyDelete