

This is a special card for a special event today and I am happy to be able to share it with you all.
Today we are celebrating a new challenge at Splitcoaststampers called "Watercolour Wednesday" which I have done the planning for. But, I am not alone. There are four of us working on this challenge and we hope to bring you fun challenges in the coming weeks. We don't want to be just a challenge, we want to help those who want to watercolour, and for those who already do watercolour, we want to change the challenge up a bit.

I won't give away our secrets, but I hope you will drop by and join in with us to check it all out. You will find the challenge listed in the Forums under Challenges.
For the first challenge we wanted to use a very easy technique. This is what we call Watercolour Look Ink Smooshed.
You lay down colour on your work surface and pick it up with a piece of acetate and manoeuvre the acetate to lay down the colour. It can put down heavier colours, or light colours, and it skips areas without trying. I found this video showing how it is done, which I found very helpful.

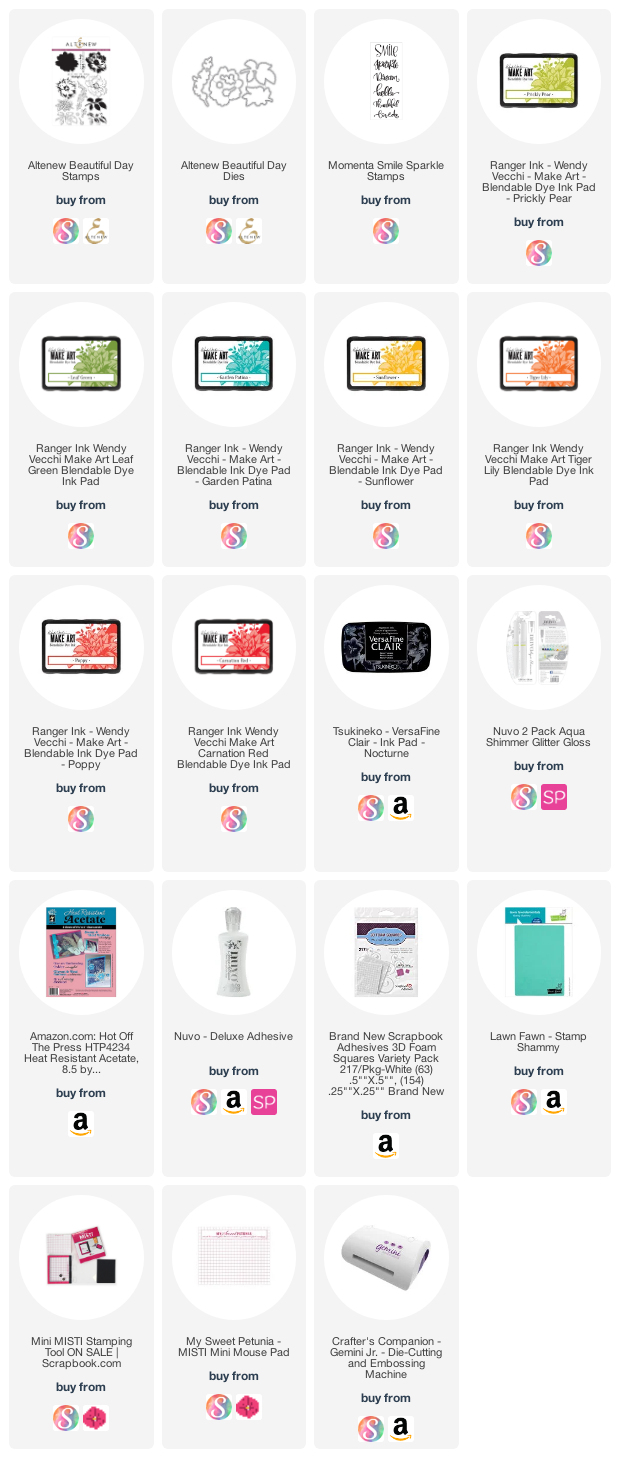
You can use watercolours, ink pads, whatever you wish for this technique. I used my Wendy Vecchi Inks for my colour, using an assortment of the colours, which are listed below.
I first stamped the blooms and leaves in my mini Misti using Ranger Archival Ink in Jet Black, then added the ink colours and dried. I added more ink as needed, and dried after each addition.
I added heavier ink to the left flower, adding in some red, for contrast from the right flower. For the leaves I used the yellows, greens and a touch of the Garden Patina.

Once all was completed and dried I die cut the pieces using my Gemini Jr. On my card base I put down some colour using the same technique, then splattered using the red ink. I glued the left flower to the card base, and attached the right flower using foam squares and added in the leaves with glue to secure.
I stamped the sentiment using VersaFine Clair Ink in Nocturne, and added Glitter Gloss to the centre of the flowers to finish.
I had fun doing this card, and I hope you will give this technique a try. Thank you for visiting today. Following are Affiliate Links for the products that I have used for this card, at no extra cost for you. I thank you for your support.
So beautiful!
ReplyDelete