I am happy to share this card with you today. This stamp is from Penny Black and is called Flowering Lanterns, and has quickly become one of my favourite stamps to colour.
I have taken pictures of my process to show you how easily this card can be done by you.
I use Fabriano Hot Press Watercolour paper when I paint. I like the smooth texture of the paper, along with how it takes heat embossing.
When doing this type of card it is a must to have a stamping assistant, as this process has continued stamping. I use a Misti, but you can use your choice of platform. You can also use your choice of water based dye inks. In my case I have used Distress Markers along with Distress Inks.
I start by colouring the stamp in sections. First are the leaves and stems. I colour the stamp then spritz lightly with water before stamping. I lay colour down on my work surface and add colour to the leaves.
I then colour the flowers on the stamp, using a post it note to block areas I don't want ink on, colouring all the flowers.
This time I stamp dry, as I will be adding a lot of colour to the flowers.
I am adding colour the same way I did for the leaves. Laying the colour down on my work surface and picking up with a paint brush.
This has the first layers of colour.
I continue my process with several layers of colour letting everything dry in between applications.
I am using only two colours for the lantern flowers, being Spiced Marmalade and Rusty Hinge. For the leaves I used Peeled Paint and Forest Moss.
Once I have completed my painting I move to my background. In order to do a complete background, I heat emboss my flower image using clear embossing powder. This protects the colours, and also adds a bit of shine to my finished card.
For this background, I started by doing a wash using Peeled Paint. I let dry, then added in Blueprint Sketch. Towards the end of adding the Blueprint Sketch I mixed the two colours together to finish the wash, and added in a tad of the Spiced Marmalade to the wet wash in a few areas.
To finish my card I added flicks of acrylic paint in navy and white, matted my panel with the orange card stock, then finished with a few sequins. It is when I have everything in place that I decide where my sentiment will go, and here I stamped Congrats from the Concord & 9th Many Mandala's stamp set using Ranger Archival Ink in Cobalt.
I hope you have enjoyed this process and that you will give it a try.
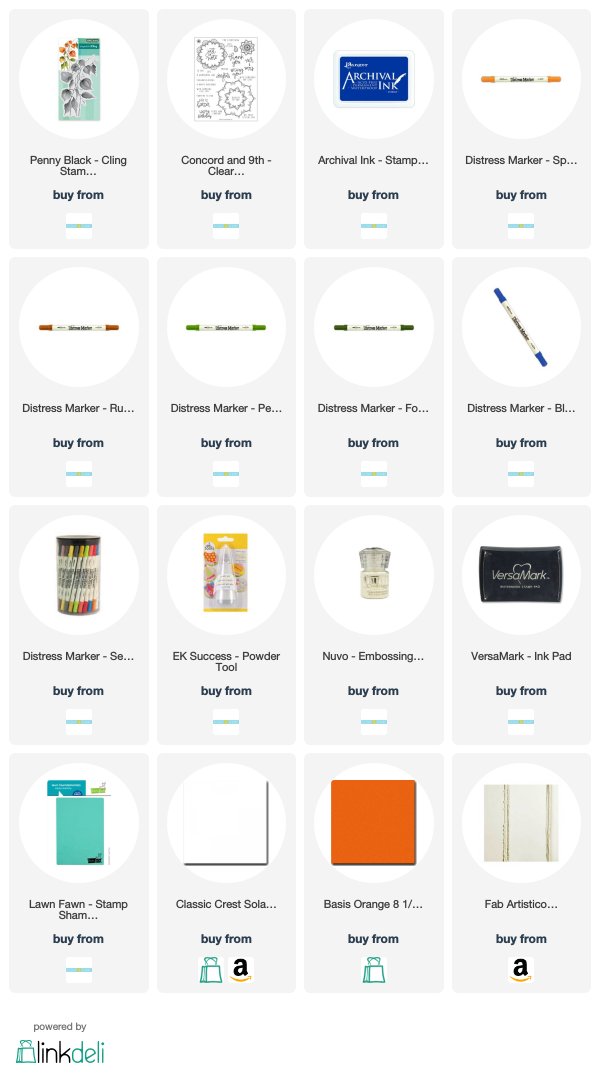
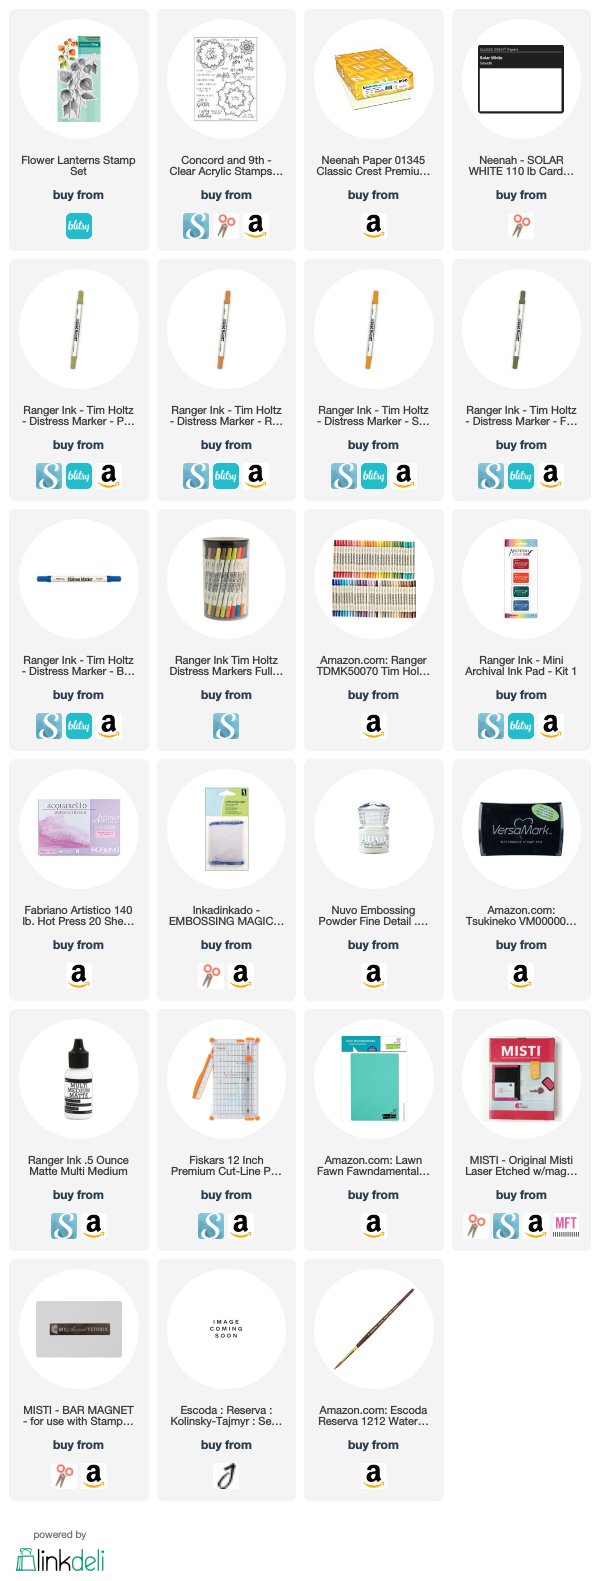
Thank you for visiting my blog today. Following, first are Canadian Affiliate links to the products I have used today, at no cost to you. Following those links are U.S.A. Affiliate links.
Canadian Links

U.S.A. Links


I saw your card on Cardmaking Tips on FB, and had to come over and take a closer look at your blog. Your card is stunning, Kia. Your coloring is done beautifully. Thanks for your mini tutorial on using the Misti for coloring your PB solid stamps. You're right, it is the only way to achieve the depth of color that these stamps really are capable of. Back to check out more of your blog. BTW...I took a glance at your watercolor paintings! Wow!!!! You're one very talented lady! Thanks for sharing.
ReplyDeleteI never thought to clear emboss the stamped image after coloring it so the watercolor splash background didn't run into it -- what a great tip! Now if I can just remember that in the future.
ReplyDeleteGreat tutorial, Kia. Excellent step by step instructions and I know that takes a lot of time to write up and take process photos of. I had a MB die of Chinese Lanterns that was not easy to use; too many pieces to put back into it. Your stamping is gorgeous! Love the Chinese Lantern stamp much better than the die.
Gorgeous watercolored stamped Penny Black image, Kia. I love your watercolor wash background and choice of colors too. TFS your beauty, my friend. Hugs.
ReplyDeleteSimply stunning!!! The color is amazing! I love the watercolor wash background!
ReplyDeleteWell, Kia, I just had to wait for the time to read through your entire blog post and see all the step-outs and explanation of your card-making process. I am SO impressed and absolutely LOVE this card! WOW! It's stunning, and I thank you so much for sharing the process with us. This is exquisite, and I am thrilled to learn that you clear embossed the final colored image so that you could do a beautiful color wash! Exquisite and absolutely stunning, my friend! You are such an amazing artist, and what we would DO without our MISTI? LOL! I am working on a card right now and found a wee stamp to use as a sentiment. It's still not been "mistified" yet (a word my DH coined if it's not yet been), and what a hassle! LOL! Hugs and love! xoxo
ReplyDelete