
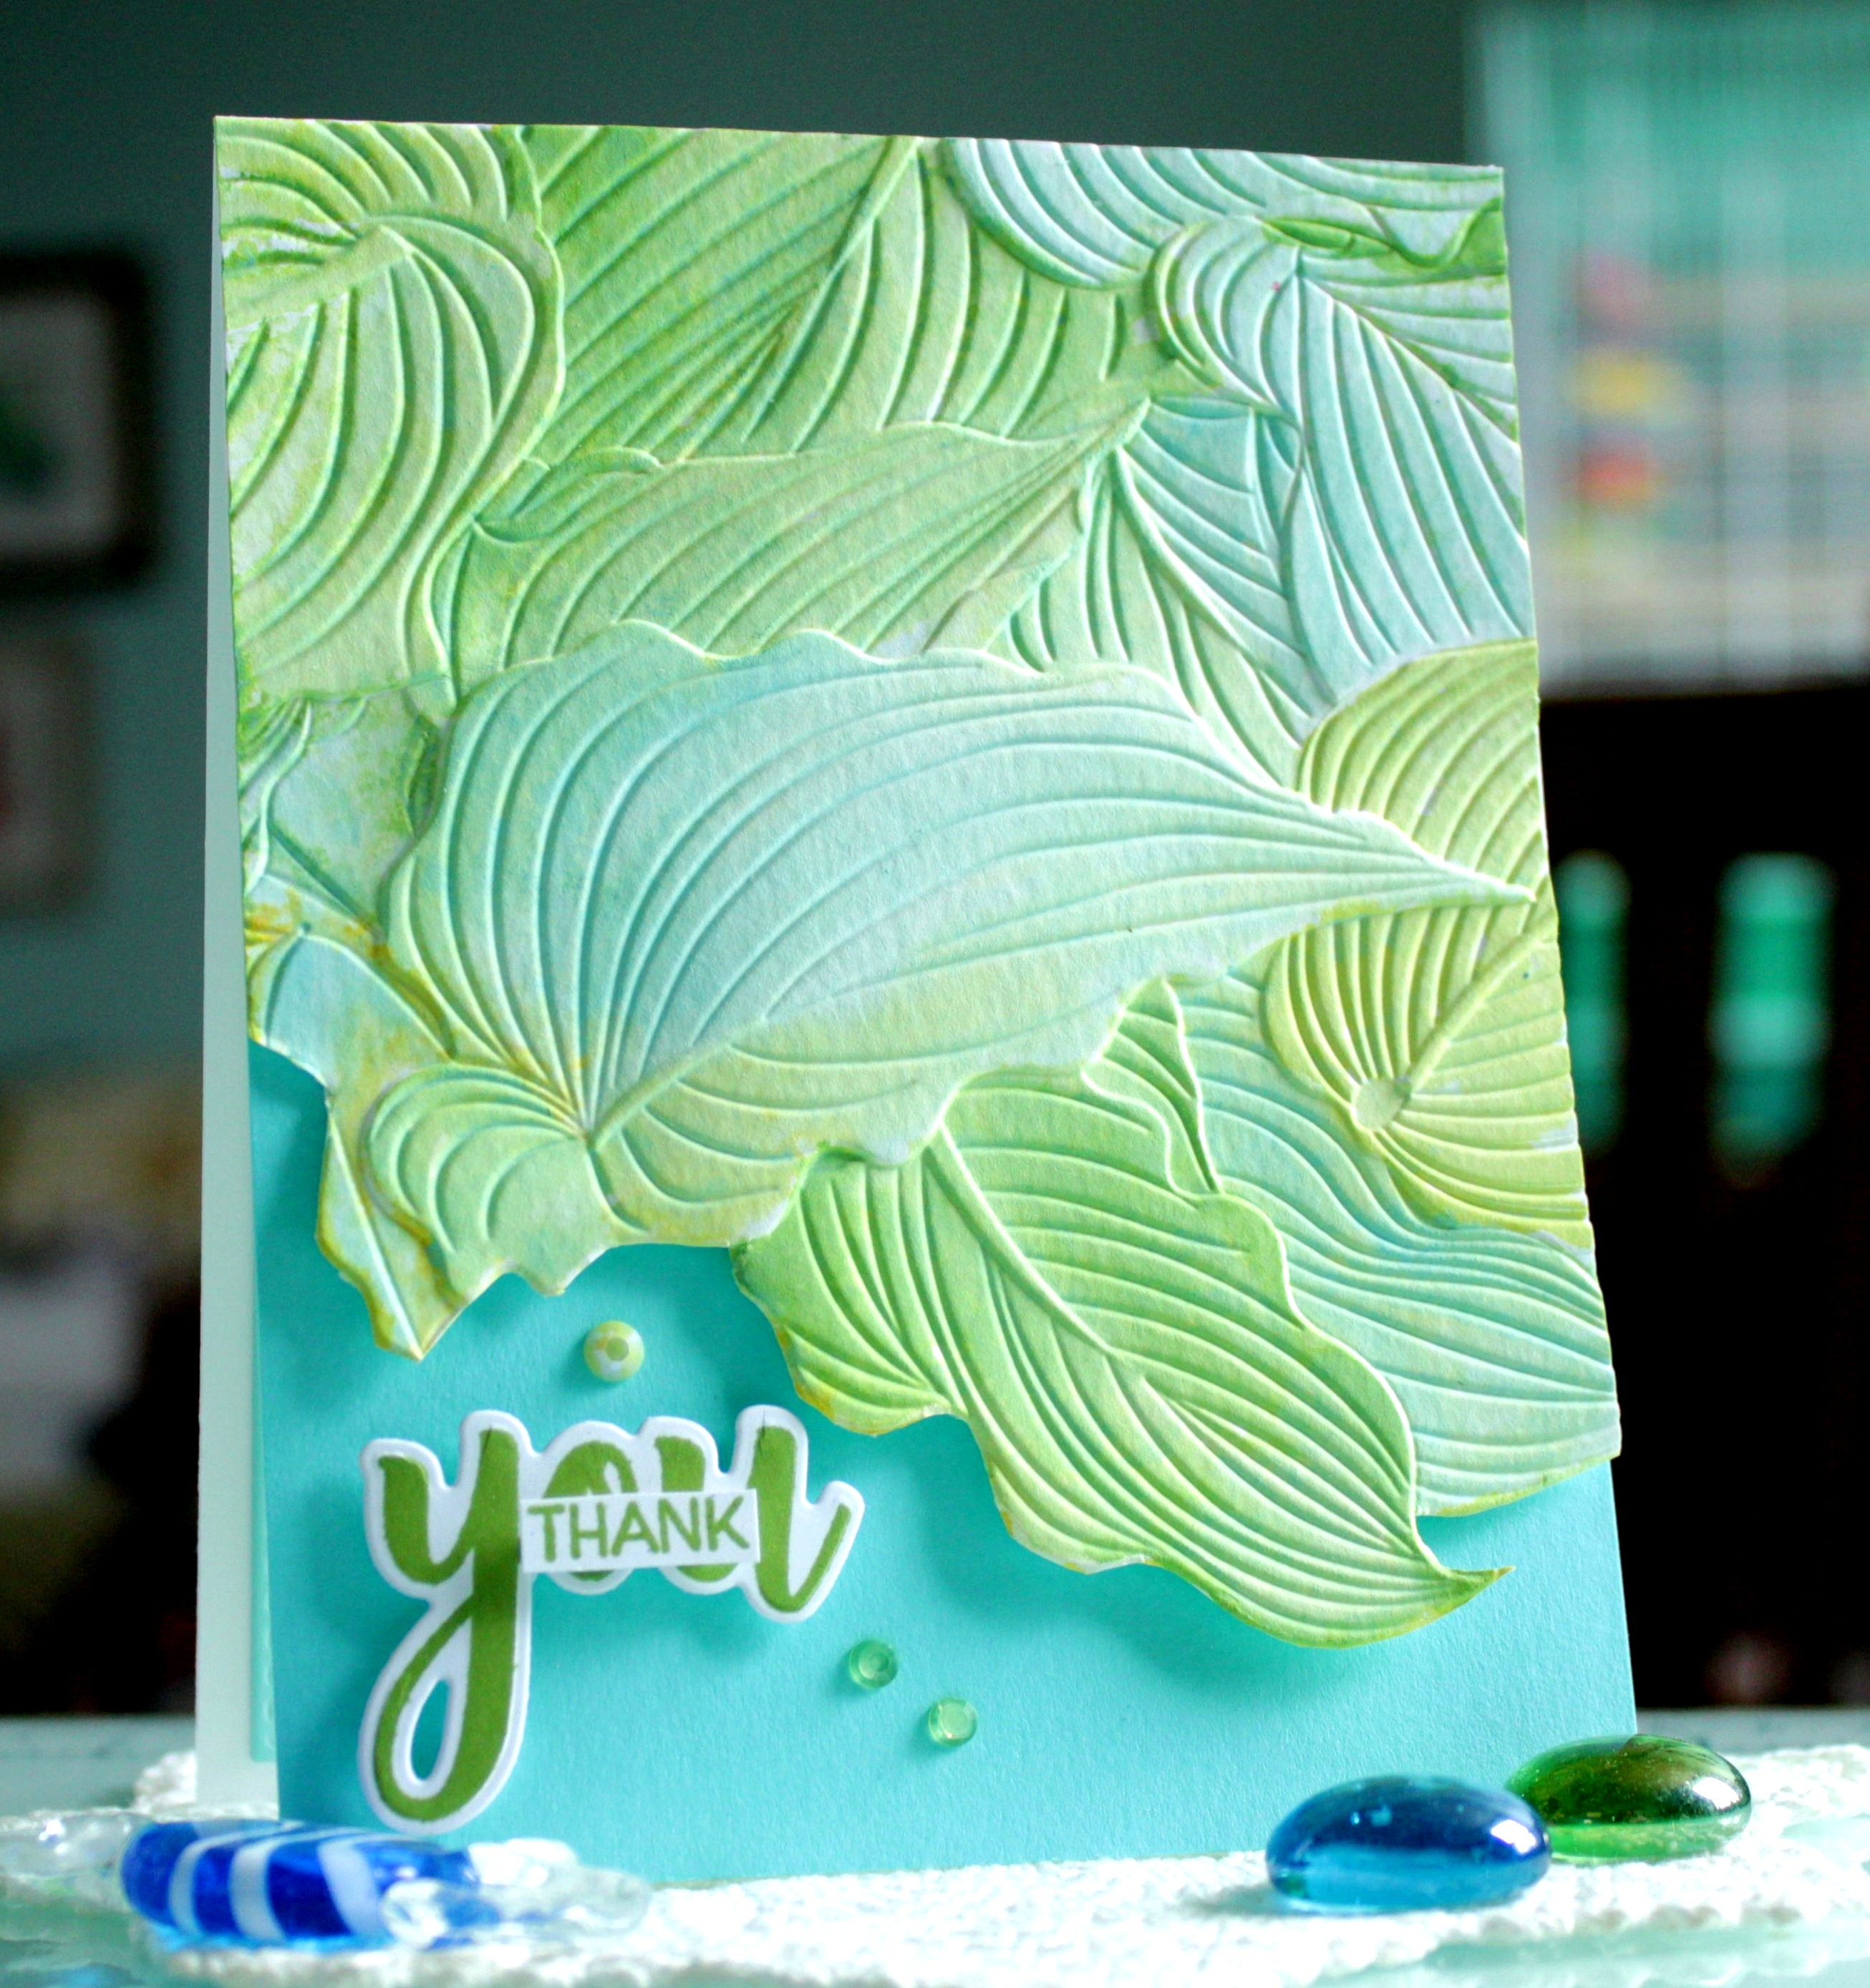
Introducing "Thank you".
I have to say I am very happy with the way this card turned out and with the detail from the Hosta embossing folder.

For this embossing folder I am using Fabriano hot press watercolour paper. Before running the card and folder through my Gemini Jr. I spritzed the front and back of the watercolour paper.
This relaxes and slightly softens the paper, which prevents cracking, and should be done no matter the paper you are using.

To add colour to the Hosta I used my distress inks to water colour using Salvaged Patina, Squeezed Lemonade and Mowed Lawn.
Once the painting was finished I set the piece aside to dry.
I am using Neenah cardstock for my base card. To the front of the cardbase I applied Salvaged Patina. I also die cut two pieces of Neenah cardstock for the inside of the card using my Stitched Rectangles die and applied Salvaged Patina to the bottom layer and Mowed Lawn to the top layer, gluing them together, then to the card base.

When all was dry, I attached the embossed piece to the card front, gluing in place at the top of the card and adding foam squares at the bottom of the embossed piece, adding more dimension to the look.
Using the Honey Bee stamps and dies called Bitty Buzzwords I stamped the "Thank" and the "You" using Wendy Vecchi ink in Leaf Green. I then fussy cut the "Thank" and die cut the "you" and attached to the card front using foam squares and glue.
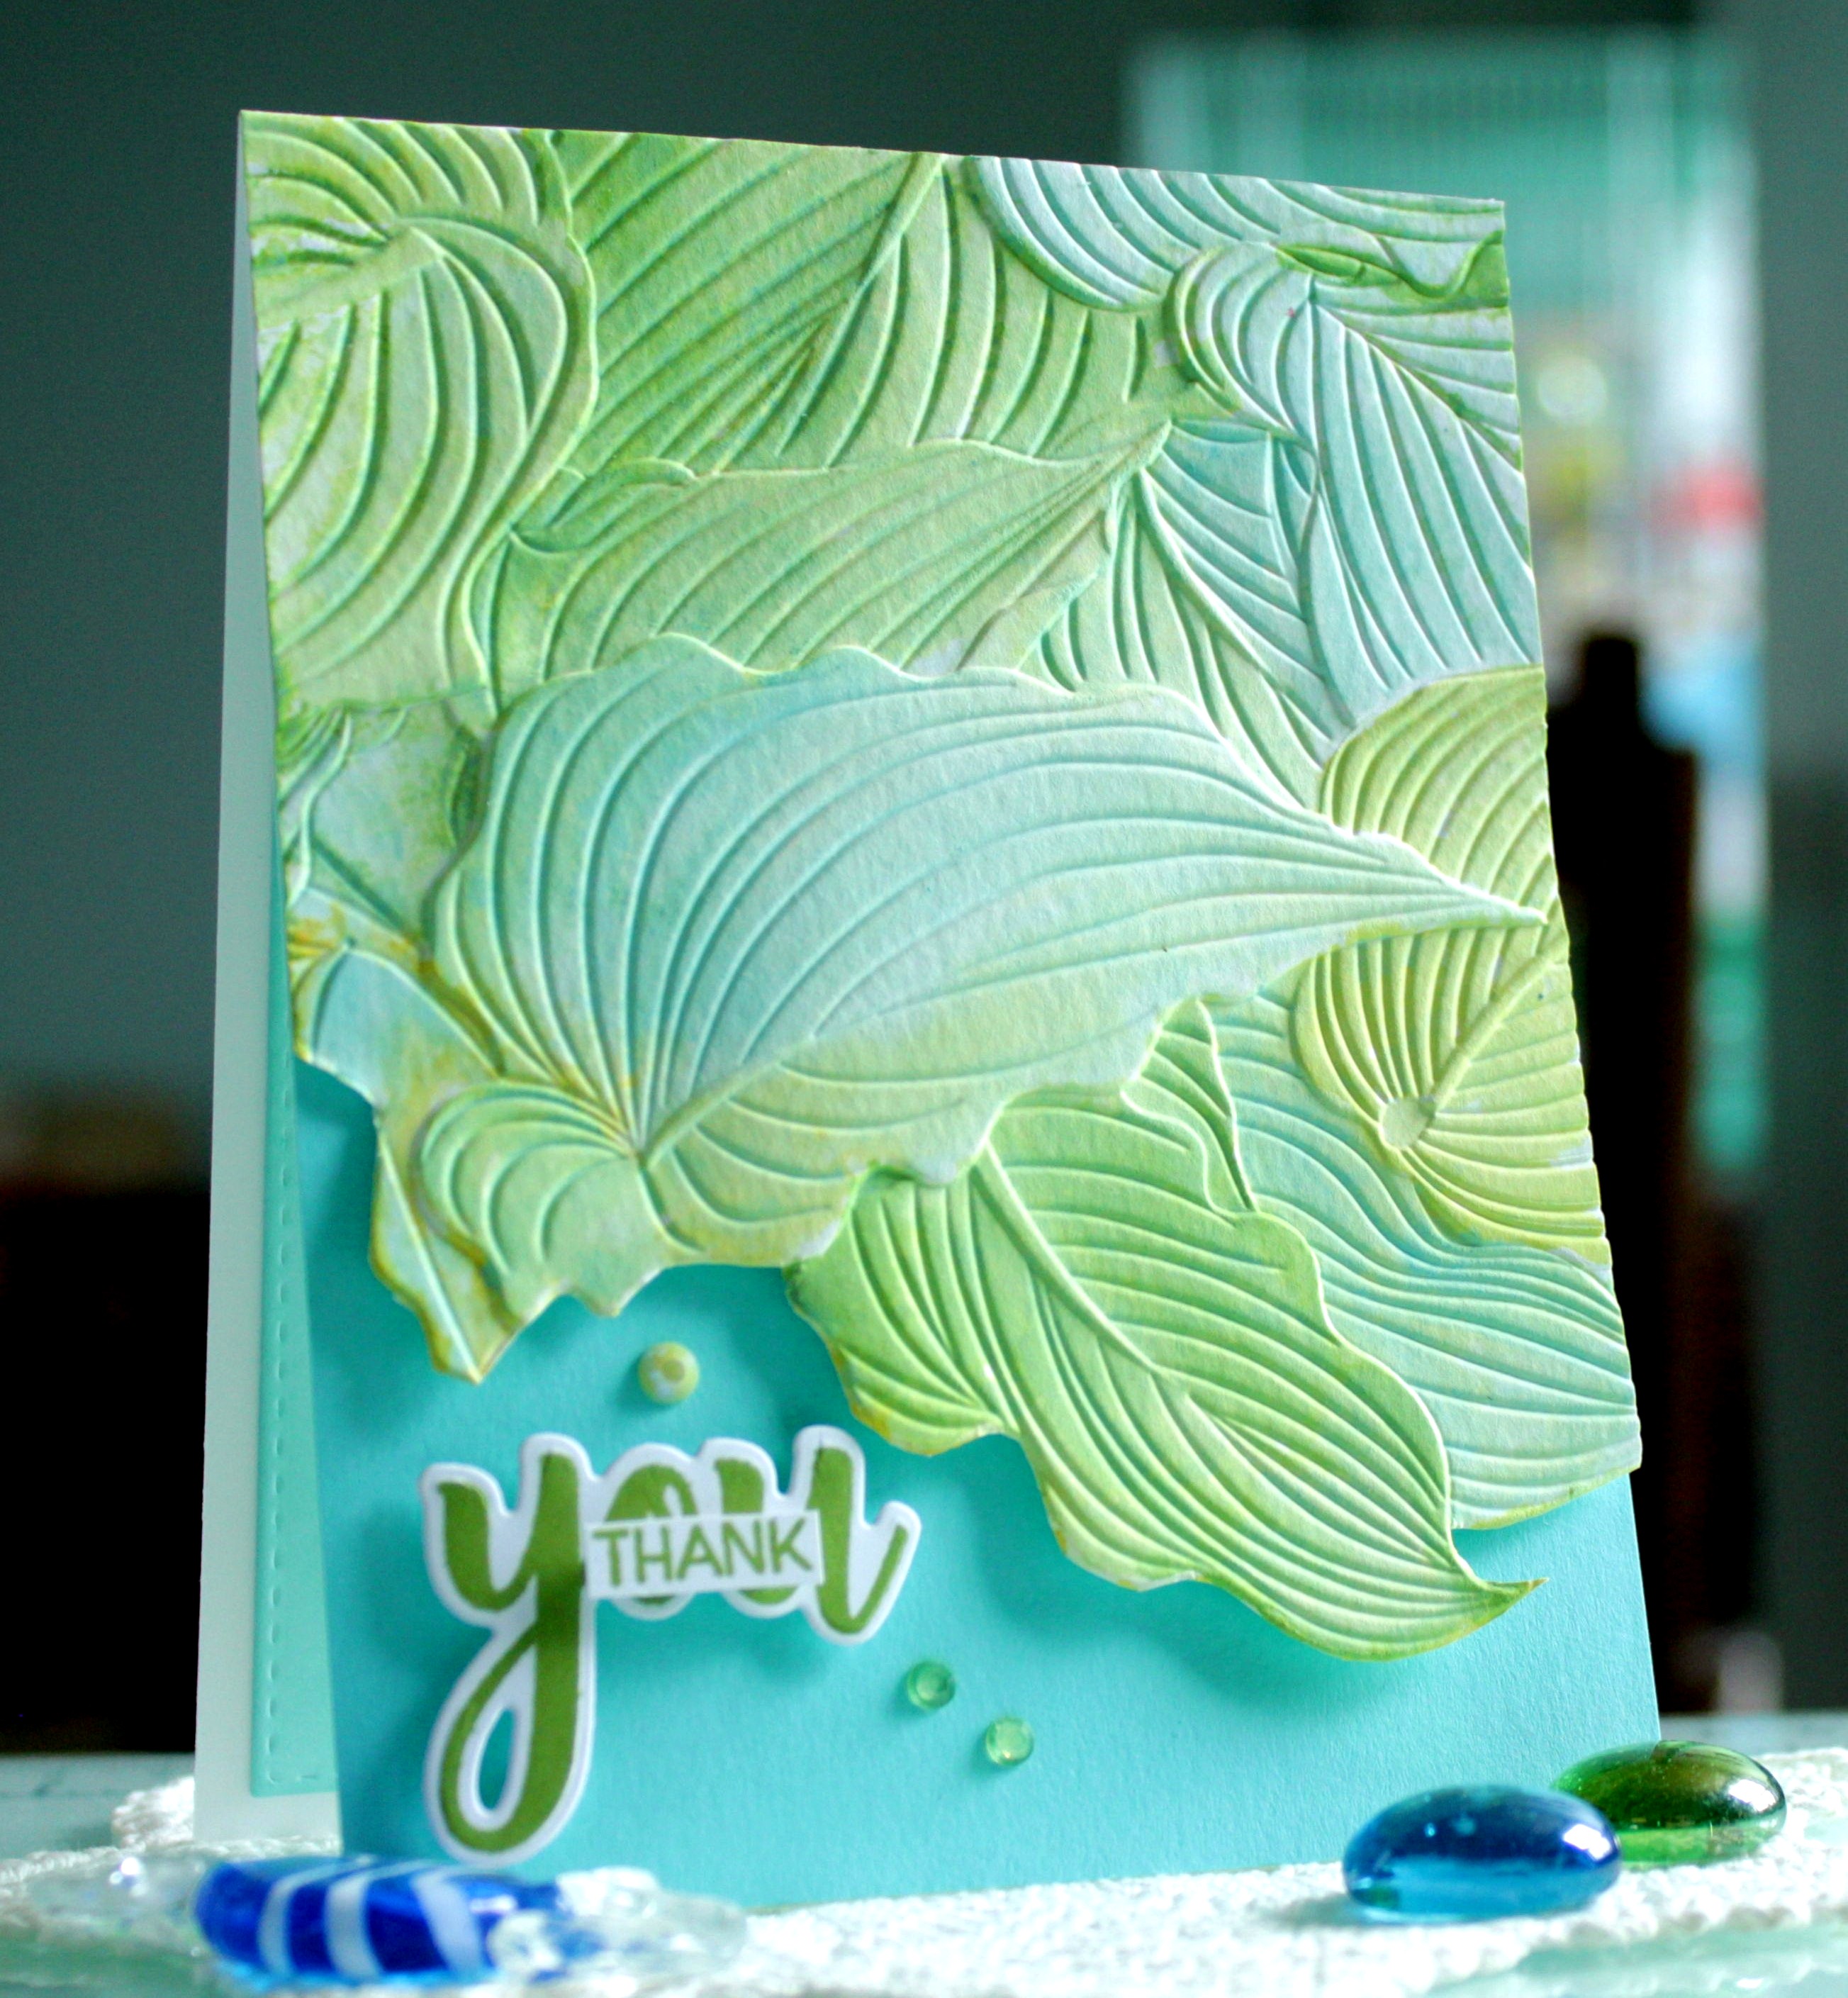
To finish I added a few Studio Katia gems to the card front.
I thank you for your visit today, and hope you have enjoyed this card.
Following are Affiliate links for the products I used for this card, at no extra cost to you.

This is beautiful Kia. It flows like real Hosta leaves and has so much detail and dimension. Love it!
ReplyDelete