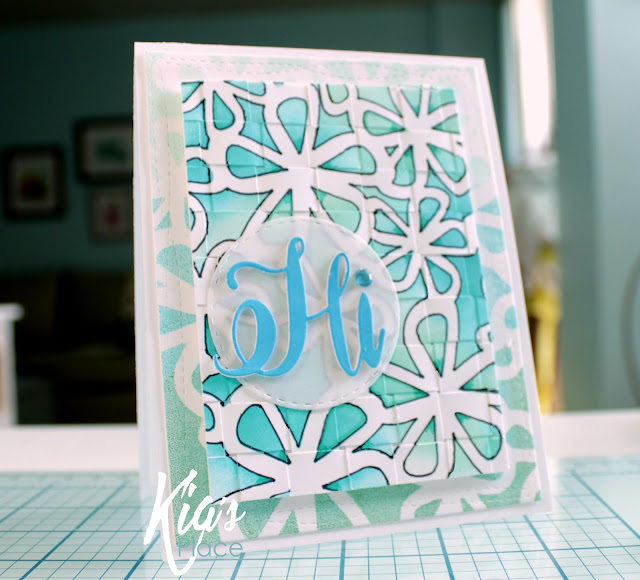
Hi! Let me introduce you to "Groovy Flower Power".
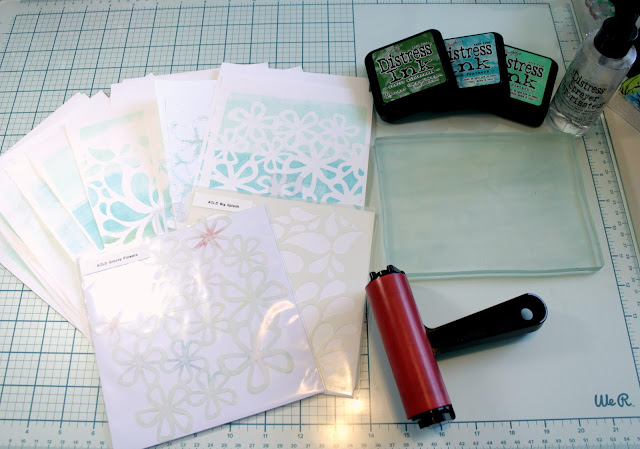
This card was so fun to make. It took awhile, but I think the time was worth it. For my background I used a gel print I made using distress oxide inks. I did a batch using just these three colours, and I ended up with 18 backgrounds to use for future cards.
First up I did the basket weave for my flower background. This idea came from Splitcoaststampers.com
Technique Lovers Challenge hosted by Karen Dunbrook.
I did not pay much attention to my weaving, hence I had some bits tighter than they should have been. But as I was going to stencil over it, I did not fuss very much.
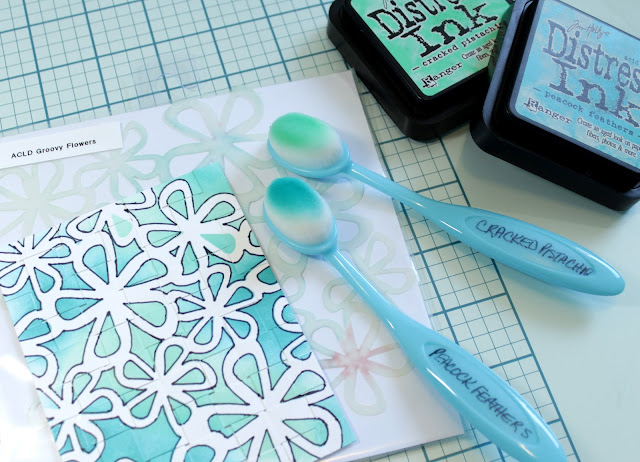
For the gel prints I used a 5x7 plate along with 3 colours of distress oxide inks, being cracked pistachio, peacock feathers and rustic wilderness, a few stencils, roller and Hammermill copy paper, which is beautiful for gel prints.
For the stencil background I attached the weaved panel to my desktop with a piece of tape behind the piece. I placed the stencil on top and taped the four corners down.
First I added the peacock feathers, the the cracked pistachio. Once I completed the colours, I used a black Sharpie to trace the lines of the stencil inside and out which finished my design.
I also added further colour to the inside narrow parts of the flower using another sharpie.
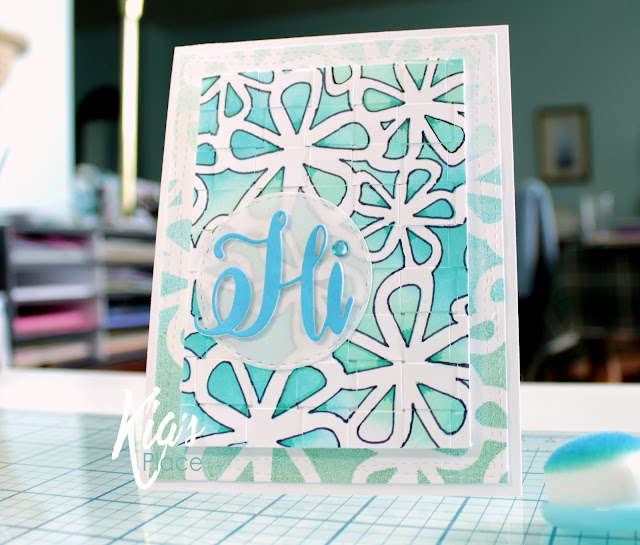
Once I completed the weaved piece I set it aside. I then added my background piece of Hammermill paper over a piece of 80lb white card and die cut the pieces as one using my wonky rectangles die.
Using Nuvo adhesive, I glued the two pieces together, then attached them to my white card base with glue. In the picture below you can see a part of the card inside.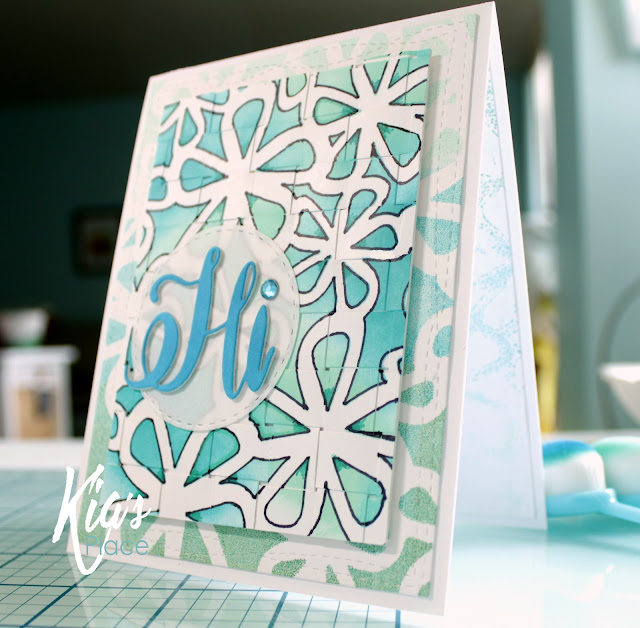 More dimension was added by using foam tape to the back of the flower weave and attaching it to the card.
I then die cut the circle using my stitched circle die and vellum paper. I then die cut the sentiment "Hi" from white card x 3 and glued two of the white pieces together. Using my applicator brush I applied the distress oxide ink in mermaid lagoon to the third piece, and glued it on the top.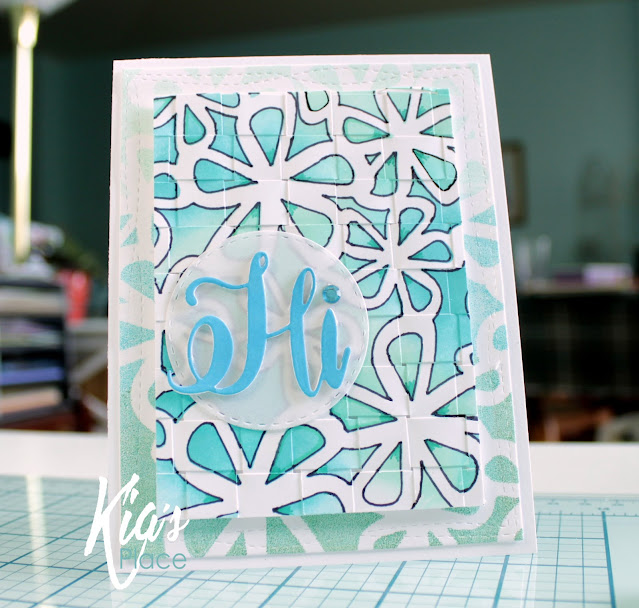 And to finish I attached the circle die using glue, which is hidden by the word, then glued in place the Hi. To (dot) the (i) I used a blue turquoise crystal, and that finished my card.
It is a bit time consuming, but definitely a fun card to make, and I think I will do another one, but next time pay closer attention to the weave.
Thank you for joining me today. Following are Affiliate links for the products I have used for this card, at no extra expense to you.


0 comments
Thank you very much for commenting. I love to read what you have to say and appreciate the time you take. I monitor comments to keep those spammers out, so do not be surprised if you do not see your comment straight away.