

I have called this technique reverse stencil monoprint, as that is how it started out. Using watercolour paper I inked up the stencil using distress inks then spritzed with water and flipped over applied it to card. I added paper towel to mop up any leakage if there was some, then removed the stencil.
I jumped up and down - in my head not physically - it was beautiful! Soft and pretty and even the yellow and pink played nice making the soft orange.

Giving the piece time to dry I moved on to the card base front and using the same stencil applied the pink ink with a heavy hand. I wanted the ink to be bold for this background.
I then die cut the sentiment using white cardstock. I did not want it to detract from the background, so I left it white. It looks nice against the background, but does not stand out like a sore thumb!

Moving back to my watercolour piece I added a layer of crackle medium using the same stencil. This part would be the positive of the stencil. I did this with a light hand as I did not want everything filled in with the medium.
Once the medium was dry I sponged around the edges, using the pink on the top and bottom sides and blue on the left and rise sides.

I love how the background shows through in the different colours, but does not over rule. I then attached the panel to my card base using foam tape.
For the sentiment I trimmed it up a bit on the bottom edge and cut the width the same as my panel. I added thin foam tape and attached slightly up from the bottom of the panel.

I do really like how the white sentiment looks with the soft background.
Thank you for visiting today. I hope you enjoyed this card as much as I enjoyed making it.
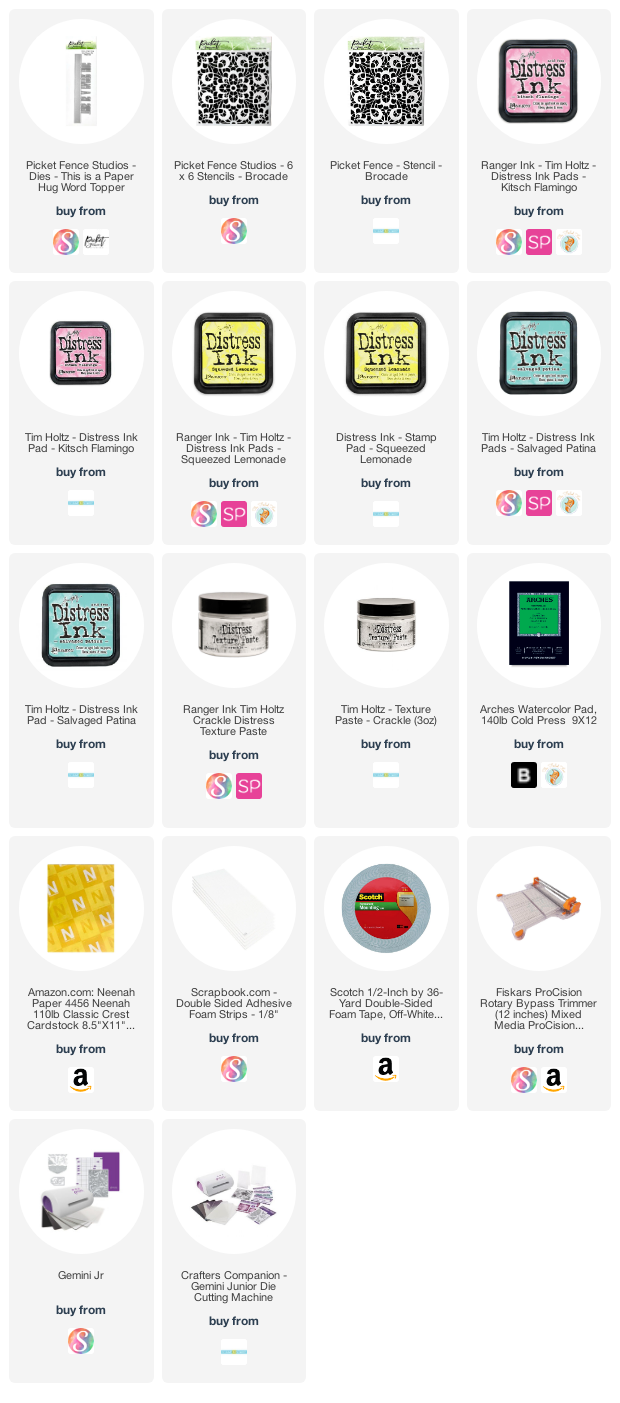
Following are Affiliate links for the products I have used on this card, at no extra charge to you.
0 comments
Thank you very much for commenting. I love to read what you have to say and appreciate the time you take. I monitor comments to keep those spammers out, so do not be surprised if you do not see your comment straight away.